9 Lightroom Presets Pack for Photographers Free Download
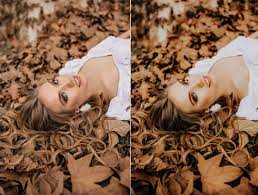
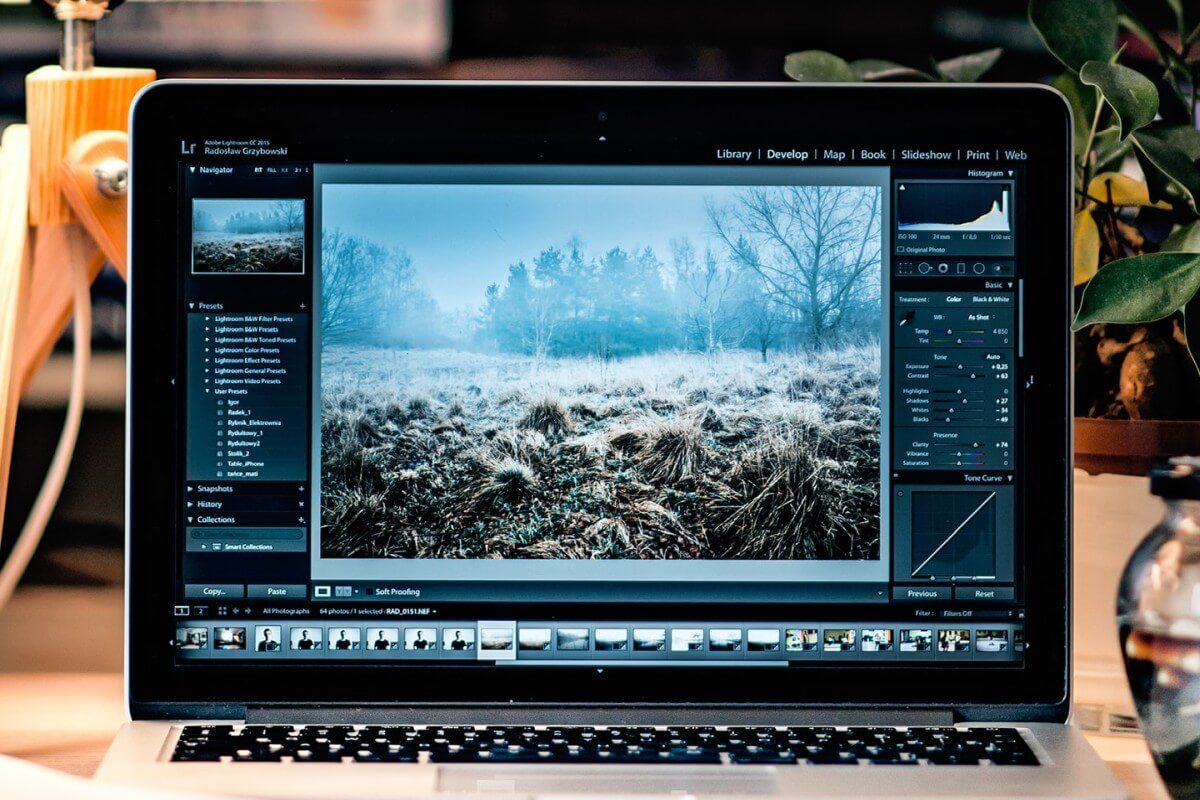
Personally, I believe that photography should be open to everyone, especially in the name of capturing all your amazing memories. That’s why we want to give you these free Lightroom presets for you to use in any-which-way you like…
…there’s no catch and nothing to pay.
Why are your presets free?
It’s always been one of my beliefs that everyone should be able to capture memories in the cheapest, most affordable and easiest way possible.
It might sound soppy, but I still have fond memories of scouring through old family albums and reminiscing over life moments. And you know what? Everyone deserves those moments!
There’s just something so magical about being able to capture a photo that has the ability to throw you right back to the moment itself.
Now, if you have Lightroom, it’s likely you’ll already have paid out a whopper amount for the program (or subscription fees). That’s another reason why I wanted to give you these free Lightroom presets.
I don’t think photo editing or photography needs to be even more prohibitive. Let’s make it fair-game for everyone with a passion for photography and travel.
How to download?
With that in mind, I wanted to give you these totally free Lightroom presets that you can download at the bottom of this post. Just press the “free download’ button which will then download a file of all our free Lightroom presets. (It will download as a ZIP file with all the presets in it).
On a Windows device: Once downloaded, open Lightroom and go straight to Edit > Preferences > Presets. Then, click the area that says “Show Lightroom Presets Folder”. Double-click this and go straight to “Develop Presets”. After you’re in this folder, copy our free Lightroom presets (downloaded from us) and put it in the “Develop Presets” folder. Close Lightroom and restart.
On a Mac device: Once downloaded, open Lightroom and go to the “Lightroom” header in the top left hand of your screen. After this, go to Preferences > Presets. Click once on the area that says “show Lightroom presets folder”. Double click on Lightroom and then double-click of Develop presets. Once here, copy our free Lightroom presets folder into you “develop presets” folder. Finally, restart Lightroom.
1.) Hand Luggage Only: Calidum
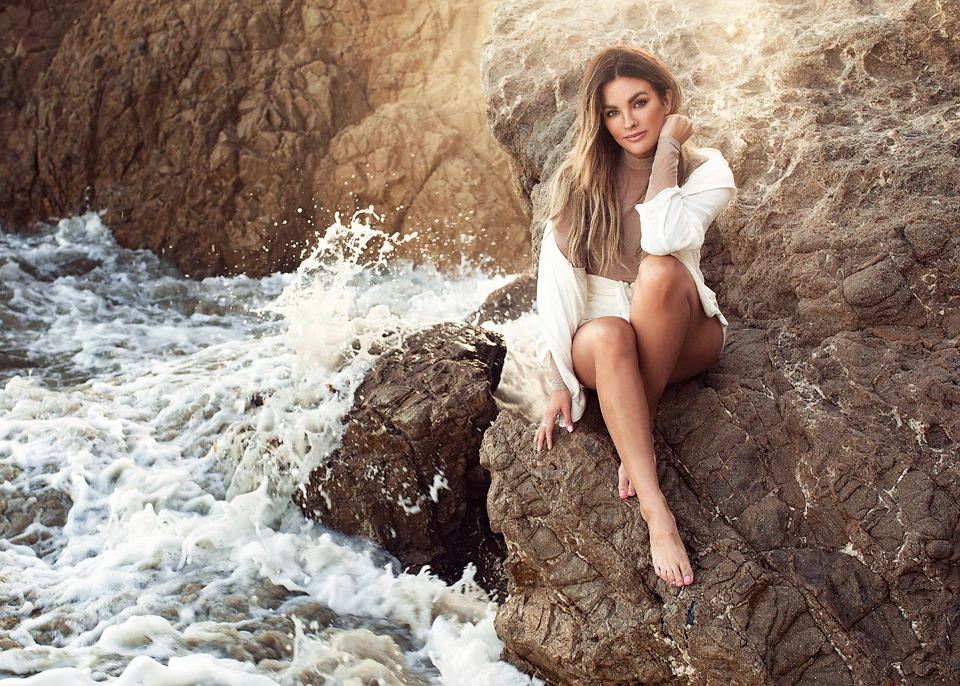
This edit works best on cloudy days when the light is quite diffused. The main elements it enhances is to increase the light, temperatures and some warmer tones to lean into the destination (which was Geneva, BTW).
Tweaking tips: Once applied, lower or increase the light function too or lower some of the blue tones if you’re editing a photo on a sunny day.
2.) Hand Luggage Only: Frigus
This kind of edit works best when inside and is perfect for a clean and relatively airy environment. For this edit, I’ve gone for a muted yet vibrant look which works well white tones to give it an all-around fresh and cool vibe.
Tweaking tips: If you have some detailed elements that require colour, make sure to increase the saturation but lower the yellows or blues to combat environmental factors.
3.) Hand Luggage Only: Illuminare
This kind of edit works really well when you want to keep lots of detail to a photo. For this photo, it works best for relatively expansive indoor environments that are hidden under shadows.
Tweaking tips: This edit is best tweaked with a lowering or increasing of the ‘highlight’ function. This way, you can adapt it to your specific photo.
4.) Hand Luggage Only: Interius
One of the things that bug me about indoor photos is that they rarely show how it felt in real life. Our Airbnb in Nimes was totally airy, simple and clean. That’s why this edit focuses on increasing the light and shadows whilst also keeping some darker tones present.
Tweaking tips: Increase or decrease your contract tool to create more boldness in darker areas.
5.) Hand Luggage Only: Inveniet
Whilst in Sri Lanka, I regularly had to zoom quite far into photos, especially whilst on safari. The downside of this is that it can sometimes play tricks with the lighting you experience. Which is hard to adjust in manual mode when you only have a window of a few seconds to capture the moment.
This edit brings out the details, diminishes lots of the shadowing and also increases the temperature to reflect the day itself.
Tweaking tips: Make sure to play around with the individual colours here. If your photo isn’t predominately green, try increasing the blues or red instead.
6.) Hand Luggage Only: Meridiem
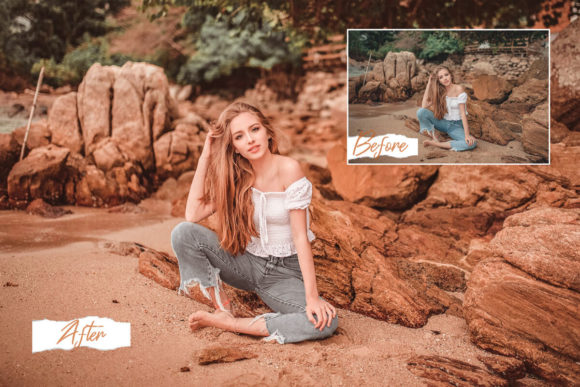
Our free Lightroom preset called “Meridiem” is a little more subtle than some of the others. Principally, it aims to show off the sunset vibes that were happening in the city.
Tweaking tips: If it’s a cold sunset, you might want to leave the blue tones within the photo.
7.) Hand Luggage Only: Tranquilliam
Captured at sunset in the Maldives, this free Lightroom preset (Tranquilliam) focuses on increasing the shadows (so Yaya isn’t hidden away), while popping the blues and oranges (which are actually opposites on the colour wheel).
Tweaking tip: If you want a more defined photo, play around with the clarity and contract tool. By upping these, you will increase the definition.
8.) Hand Luggage Only: Tropics
The edit for ‘tropics’ is best used for warm, tropical environments that you might be visiting. Despite it being almost 30C and very humid when we were here, the photo came out quite ‘cold’ so this presets takes it back to the warmer tropical feeling I was experiencing at that very moment.
Tweaking tips: Increase little more grain in your photos. It might seem counter-intuitive but it really adds a whimsical feel in the right moment.
9.) Hand Luggage Only: Viridi
Tweaking tip: If you dislike the hazy sky element, just drop down the light and highlight tools until you find your happy spot.
