
Create stylized facial Free Download
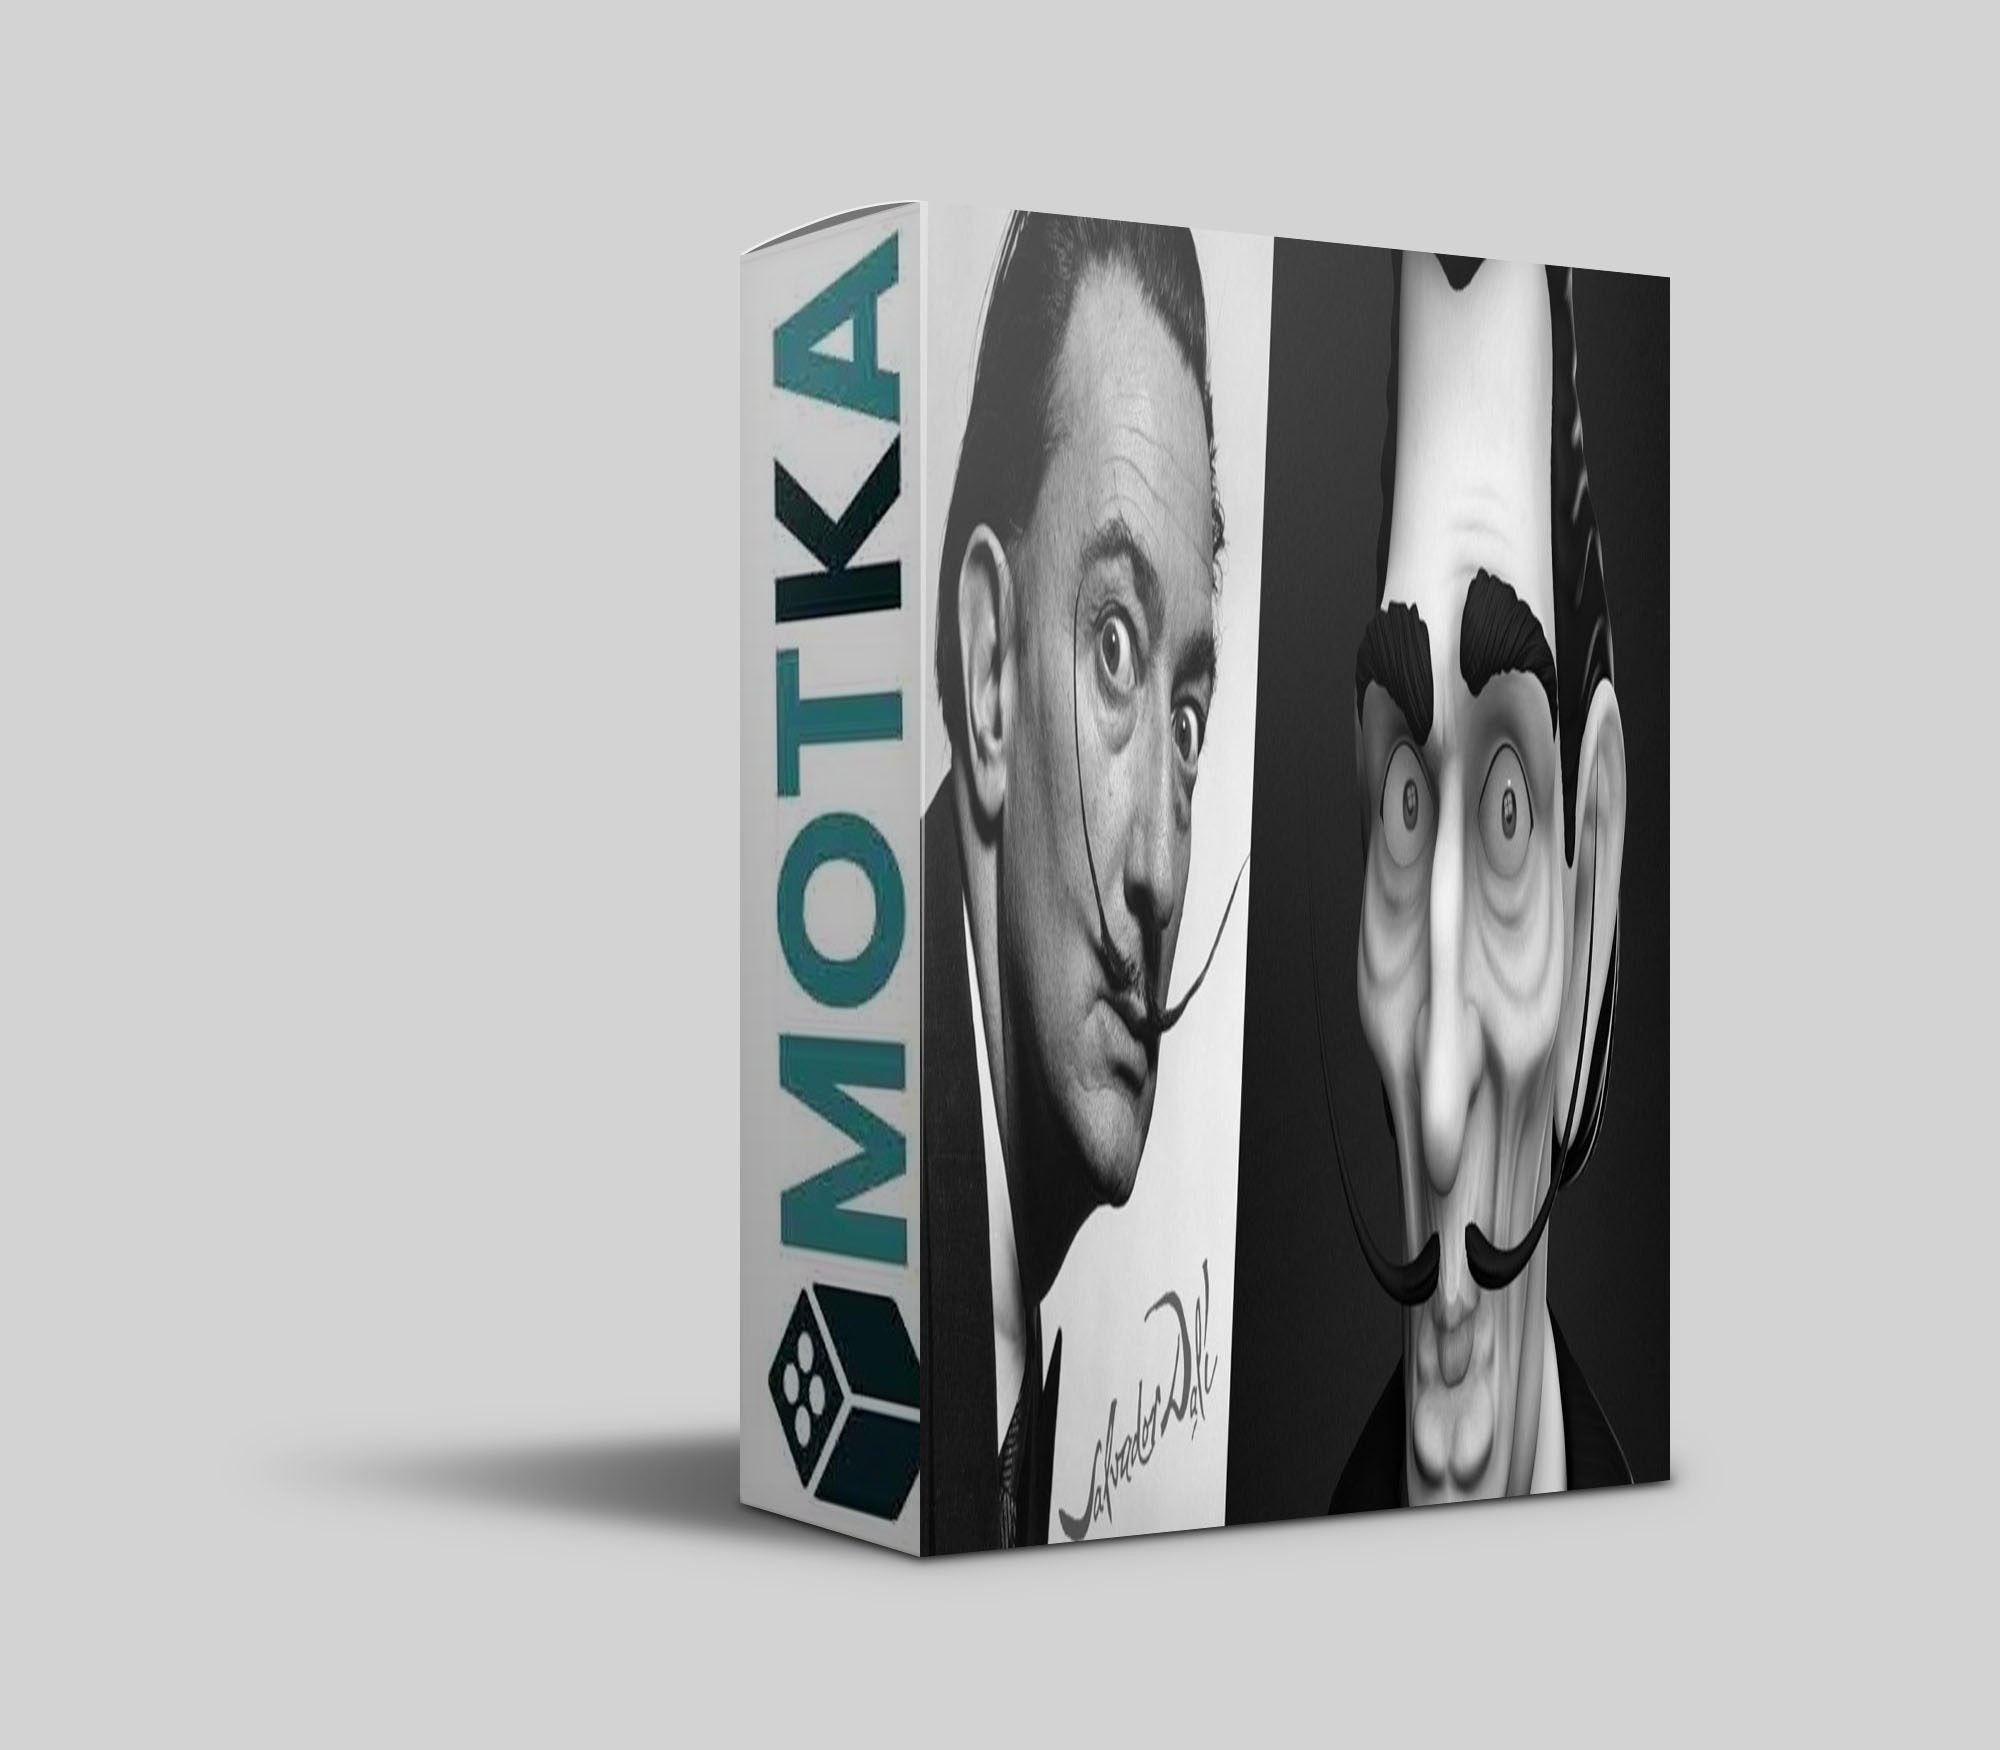
[Sponsored] Discover a groundbreaking workflow for crafting facial expressions for your 3D characters as digital sculptor Óscar Fernández reveals how he created a 3D caricature of Salvador Dalí using ZBrush and Reallusion’s ZBrush Face Tools plugin for Character Creator.
In this article, I’ll demonstrate a revolutionary workflow for creating stylized facial expressions for a 3D character, using Reallusion’s new ZBrush Face Tools plugin for Character Creator 4 (CC4) to achieve professional results without complexity.
The plugin automates the technical parts of the process, leaving artists free to focus on the creative aspects, by setting up 13 base facial expressions that can be customized in ZBrush, then combined in Character Creator to create an almost infinite variety of facial expressions.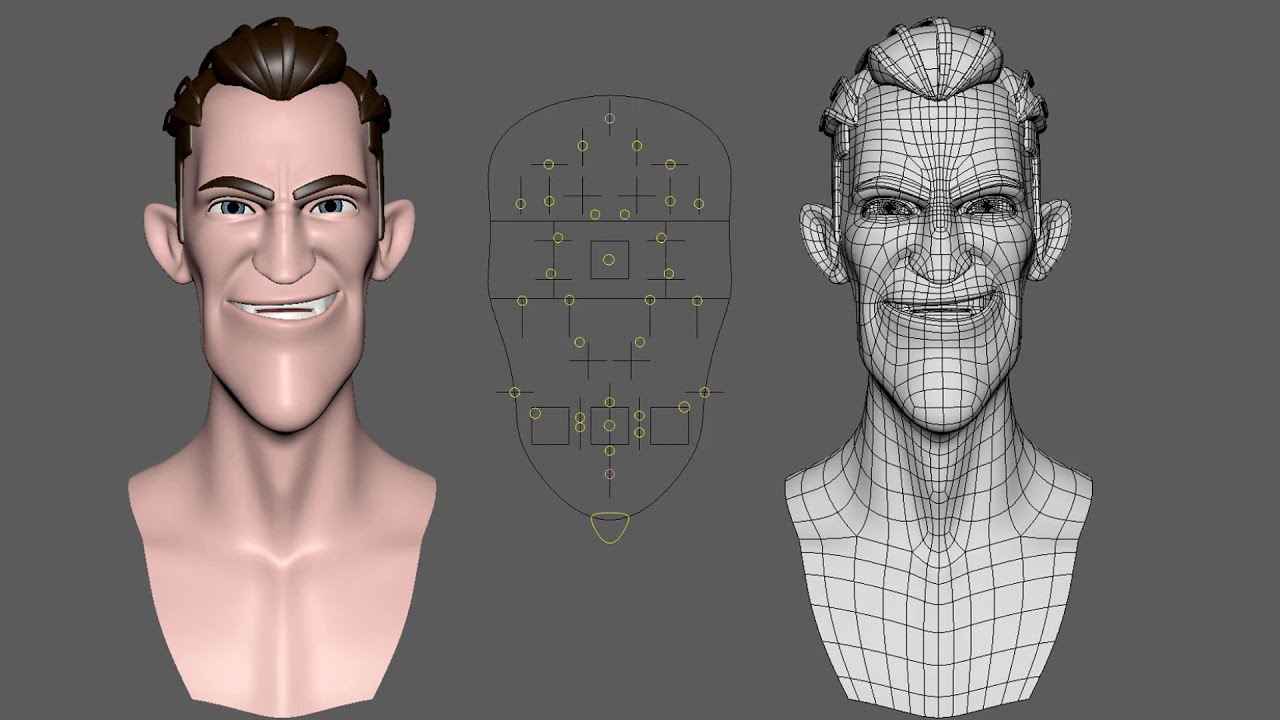
Gathering references
I’ll be taking the artist Salvador Dalí as my subject, so I began by gathering reference photos and caricatures of Dalí for guidance.
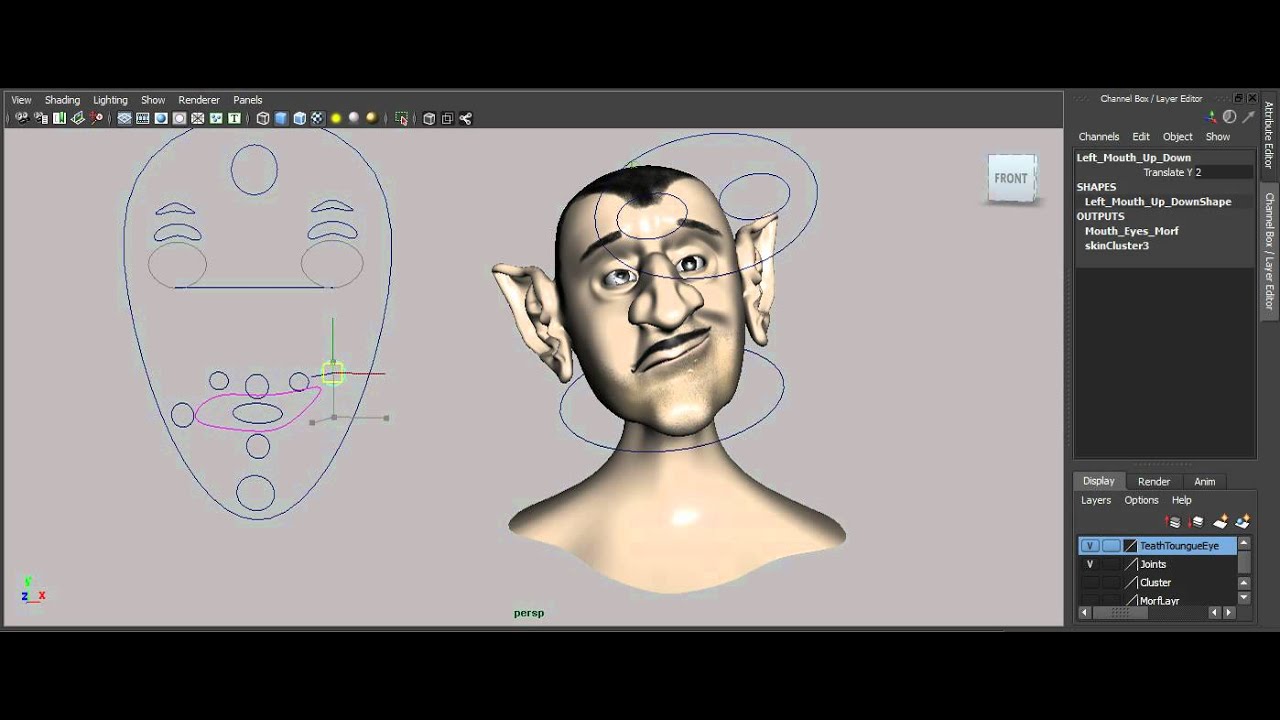
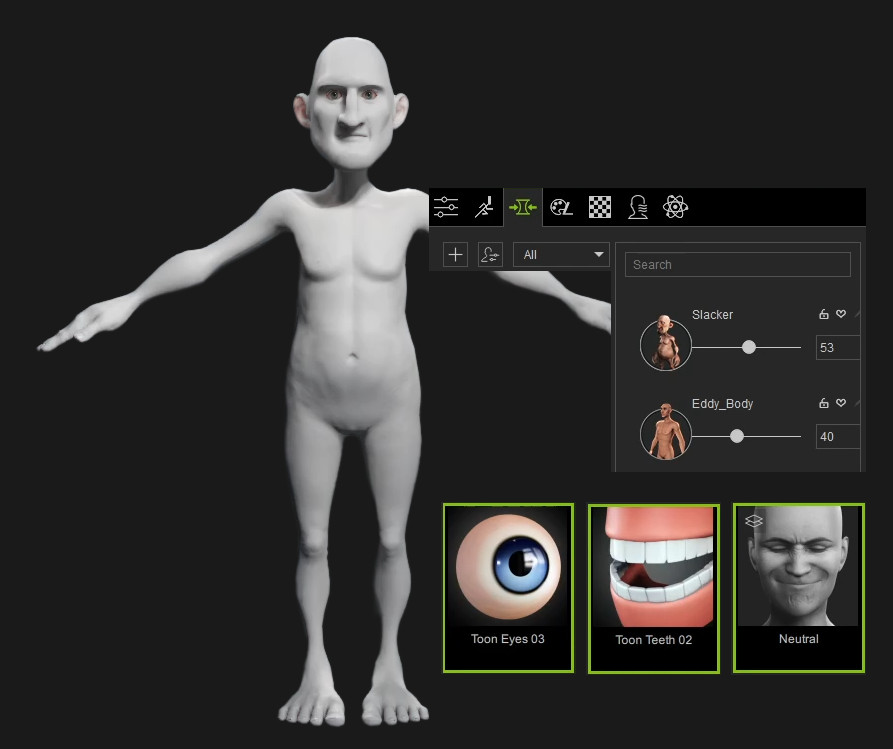
I began with a base model in Character Creator, which I customized using CC4’s morph controls, lowering the Strength of the textures to zero so that I could focus on the form of the body. Next, I loaded in eyes, teeth and facial wrinkles, using the Neutral set from CC4’s Expression Wrinkles.
Transferring the model to ZBrush
Once the base model was set up, I pressed the Face Tools button to transfer it to ZBrush, selecting Create New from the Action drop-down in the window that pops up.
Next, I chose the number of subdivision levels I wanted to use in ZBrush (I chose Level 6, which corresponds to 2K resolution for the character’s texture maps), selected the Normal Details checkbox, and pressed the GoZ button to send the character to ZBrush.
On loading, only the character’s head is visible, which is fitting, given that the ZBrush Face Tools are intended for facial work. I opened the plugin from ZBrush’s Zplugin menu, and configured the settings for the project, saving the file in both ZBrush and Character Creator.
Sculpting the head in ZBrush
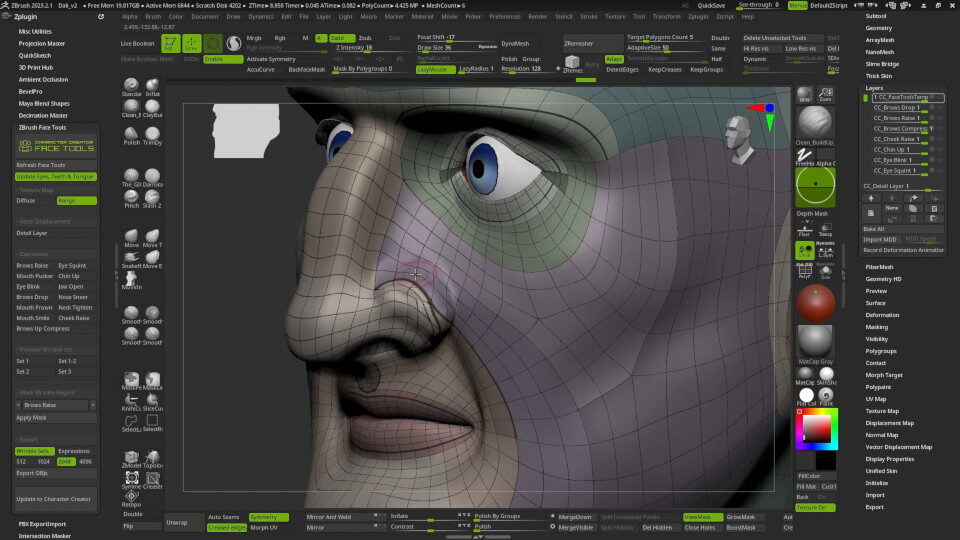
In the ZBrush Face Tools panel in ZBrush, I activated Range to load a texture showing the model’s topology and facial regions. To ensure that the mesh deforms smoothly when creating expressions, it’s essential that it has clean topology. Since the topology of the Character Creator model is already ideal, it’s important to respect the directions of its edge loops while modeling.
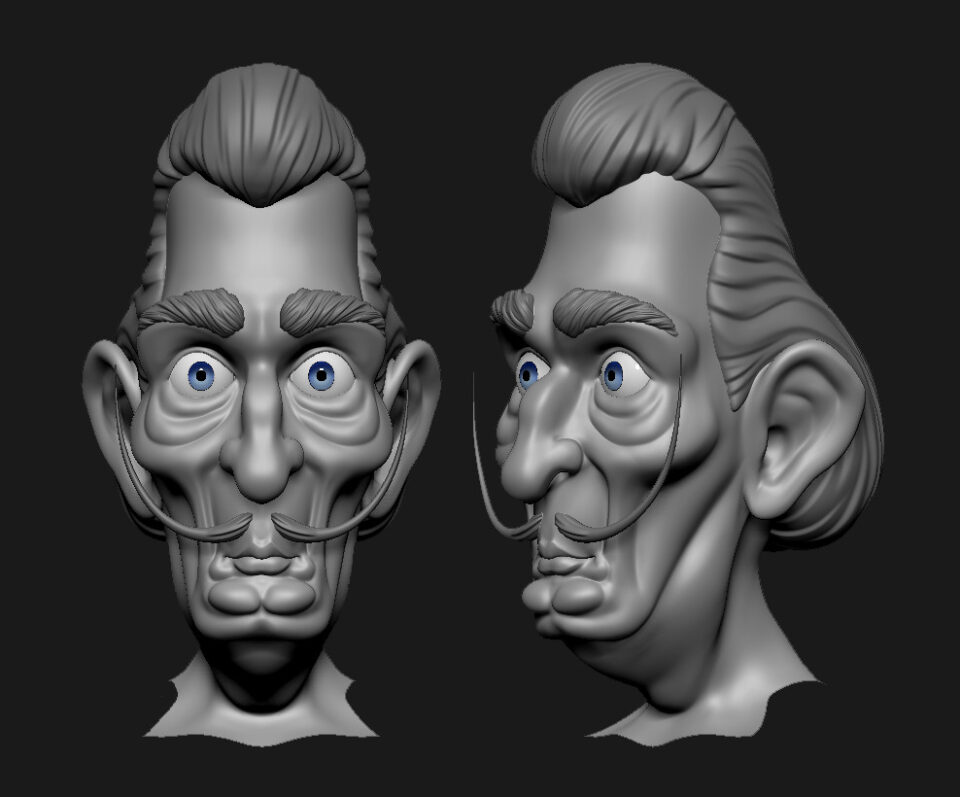
Starting at subdivision level 1, I began to shape the face using brushes like Move and DamStandard that don’t alter the topology too much.
Sculpting the hair, eyebrows and mustache in ZBrush
To create the hair and eyebrows, I masked out the corresponding regions of the head, and used Tool > SubTool > Extract to create new SubTools from them, adding detail with the Slash2 brush.
After adjusting the positions of the teeth and tongue, which are also separate SubTools, I was ready to send the character back to CC4.
Sending the changes to Character Creator
Before transferring the model, it’s important to ensure that the CC3+ model is selected in Character Creator, otherwise ZBrush Face Tools will cancel the export process.
Once I had done this, I pressed the Update to Character Creator button in ZBrush. This opens a window with the transfer settings.
Since I had only worked on the base mesh so far, I deactivated the expression settings, leaving only the modified facial parts active: the head, teeth, tongue and eyes.
The base mesh includes information from subdivision level 1, but since I had also sculpted the face at higher subdivision levels, I also activated Details > Normal to transfer the extra information to Character Creator as a normal map. (The Cavity > Blend option is also great for realistic models, but it wasn’t necessary for a stylized character like this.)
Once I was ready, I pressed the Update to Character Creator button at the bottom of the window to begin the transfer process, then the Update button in the GoZ Options window to continue it.
Sending the hair back to Character Creator
Next, I sent the hair, eyebrows, and mustache I had sculpted to Character Creator. In ZBrush, I hid the other SubTools, then pressed the Visible button in the GoZ settings to begin the transfer.
This time, I used the GoZ Options window to configure the hair elements as Accessories before pressing Update again.
Back in Character Creator, I adjusted the position of the accessories, then to integrate them with the character’s head, I pressed the Create Hair, Brows, Beard button in the Modify panel, choosing a behavior type for each of them in the settings window that pops up.
Texturing the skin in ZBrush
After this, I textured the character in ZBrush using Polypaint, gradually applying colors on the SkinShade material, then using Update to Character Creator to transfer the changes.
In the settings window, I selected Head from the list of facial parts, and Polypaint > Diffuse to transfer the Polypaint information to Character Creator as a texture map. Although I had only painted the character’s face, the GoZ Options window gave me the the option to apply the same skin color to the character’s body, ensuring that they matched perfectly.
Once I had adjusted the lighting for the scene in Character Creator, I returned to ZBrush to begin the most important part of the workflow: setting up the character’s facial expressions.
Customizing facial expressions in ZBrush
ZBrush Face Tools automatically creates layers inside ZBrush that generate the deformations to the character mesh needed to produce facial expressions.
There are 13 base expressions, which can be combined in Charcter Creator to generate an infinite number of results. Each base expression can be personalized by sculpting a custom pattern of wrinkles for it in ZBrush, so that’s what I did next.
Since I had already loaded the Neutral wrinkles from Character Creator, this provided a starting point from which to work. I could either modify the existing wrinkles or smooth the mesh at each subdivsion level to remove them entirely and start again from scratch.
So that I could see how the eyebrows were going to behave, I found it helpful to paint their outlines onto the character’s skin in ZBrush before beginning work.
Transferring the custom wrinkles to Character Creator
This time, when I used Update to Character Creator to transfer my changes to Character Creator, I selected only Update Expressions / Wrinkles in the settings window.
Below it, I made sure that the option for generating Expression Morphs was selected, along with the option to transfer my custom wrinkles as normal maps, and deactivated the checkboxes corresponding to the generic wrinkles.
It’s possible to export all of custom wrinkles in one go, but I chose to transfer the data for each base expression individually so that I had more control over the process.
Completing the character in ZBrush
As well as sculpting wrinkles for each base expression in ZBrush, I used Polypaint to accentuate their effect, highlighting parts of the expression, or painting custom color variations.
Combining facial expressions with body language makes it easier to convey emotion, so I couldn’t resist working on the entire character. I created his clothes as separate SubTools in ZBrush, setting up UVs and painting surface colors directly inside the software.
When I was finished, I hid the other SubTools and pressed the Visible button to transfer the clothing, adjusting skin weights as necessary in Character Creator.
Creating custom expressions in Character Creator
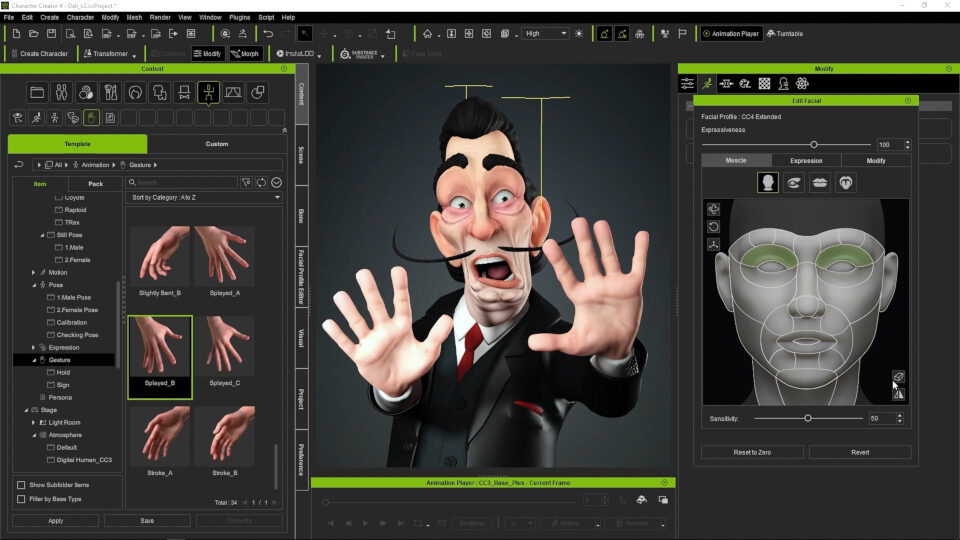
With the character complete, I was ready to create unique facial expressions for him in Character Creator. To do this, I pressed the Edit Facial button in the Motion Pose Tab.
Three editing modes are available in the Edit Facial window.
Selecting Muscle mode brings up a user-friendly editor for creating expressions by selecting regions of the face, then moving the mouse in the direction they should deform. There are close-up views of the eyes, mouth and tongue for more precise adjustments.
Selecting Expression mode makes it possible to choose from a vast range of predefined expressions. There are six main categories – Happiness, Sadness, Anger, Disgust, Fear, and Surprise – plus some additional options.
Selecting Modify mode brings up slider controls for each part of the face, making it possible to make more precise adjustments.
It’s possible to combine all three workflows for maximum flexiblity, starting with a predefined expression, modifying the positions of muscle groups, then fine-tuning the result with sliders.
My conclusions
Reallusion’s focus on empowering artists has been evident throughout the past year, providing tools that streamline the creative processes. First, its Character Creator Pose Tools for ZBrush revolutionized character posing, making it easy to create dynamic poses naturally and intuitively. Now ZBrush Face Tools for Character Creator does the same thing for facial expressions.
Though the workflow relies on Character Creator’s base meshes, their perfect topology allows for extensive customization without sacrificing performance. With artists able to edit 13 base expressions in ZBrush, each character gains a unique personality, which can be further refined using Character Creator’s expression tools.
Together, the tools offer a comprehensive solution for creating expressions, not only enhancing productivity but fulfilling artists’ long-held expectations of Reallusion.
Need a more detailed walkthrough?
You can find a longer version of this article on the Reallusion website, or watch a recording of the workflow on YouTube.
Find out more about ZBrush Face Tools for Character Creator on Reallusion’s website
About the author: Óscar Fernández is a digital sculptor who specializes in producing 3D figures for printing. You can see more of his work in his ArtStation gallery and his Facebook and Instagram accounts, and watch complete timelapse videos of some of his sculpts on his YouTube channel.