
Photoshop Custom Brushes Panel Free Download

Create your digital masterpiece.
Elevate your digital art with custom drawing brushes or jump-start your work with preset Photoshop brushes.
Make your words stand out.
Perfect your hand lettering and calligraphy brushstrokes with high-quality Photoshop brush sets.
Illustrate creative ideas.
Create the exact linework and shading you want. Bring your digital drawings to life with pencil, ink, and charcoal brushes.
Vary your style and brush.
Experiment with everything from watercolor brushes to splatter effects and explore thousands of preset tools.
Try out custom brushes.
Create a unique toolkit with custom Photoshop brushes that can help you achieve any effect you want.

How to import and install brushes into Photoshop.
One of the amazing things about working with brushes in Photoshop is that you can create and share your own. Whether you’re just getting started or you’re an experienced digital artist, it can be fun to download and import brushes from straight from Adobe or your favorite creators. Here’s how:
-
Open the Brushes panel in Photoshop by going to Window > Brushes.
-
Click the hamburger menu and select Get More Brushes…
-
Locate your desired brush pack.
-
Keep Photoshop open and double-click your brush pack file.
-
Your new brushes will now be installed in the Brushes panel for you to use.
-
You can also import brushes by clicking the hamburger menu in the Brushes panel and selecting Import Brushes, then selecting the correct ABR brush pack file and clicking Open.
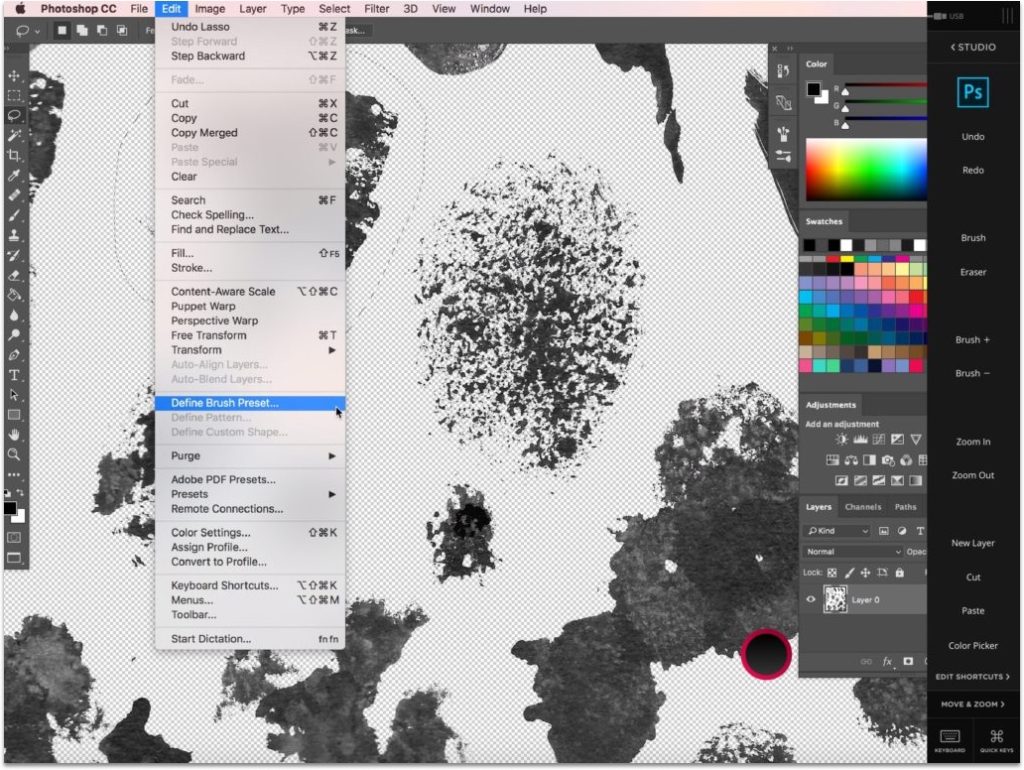
How to make a brush in Photoshop.
If you can’t find the exact right brush in Photoshop or in a brush pack, good news — you can make your own. Think ahead about what look you’re going for and what kind of brush will help you achieve that effect. Then go ahead and experiment with settings in the Brushes panel and save your new custom brush. Here’s how:
-
Select the Brush tool.
-
Open the Brush Settings panel by going to Window > Brush Settings.
-
In Brush Settings, you’ll see the settings for your current brush.
-
Modify your Brush Tip Shape to fit the look you’re going for.
-
Go through the other options in the panel to choose your new brush’s attributes.
-
Once you’re set with your new brush, you can start using it right away — but make sure to save it if you’d like to use it again.
-
To save your new brush, select New Brush Preset from the hamburger menu.
-
Give your brush a new name and click OK.
-